|
|
||
|
In this page, I will show you how to download and install the VirtualBox softwre on my Windows PC and install a Linux on the Virtual box. The setup that I am using at the time of writing (Jan 2018) are as follows.
I see a little bit of changes on Virtual Box GUI from this tutorial, but overall procedure hasn't changed.
I see a little bit of changes on Virtual Box GUI from this tutorial, but overall procedure hasn't changed.
I see a little bit of changes on Virtual Box GUI from this tutorial, but overall procedure hasn't changed.
Followings are the overal steps to install VirtualBox and Install an Operating System (Ubuntu in this case) on it.
Following is some additional tips to extend the functionality of the virtual machine.
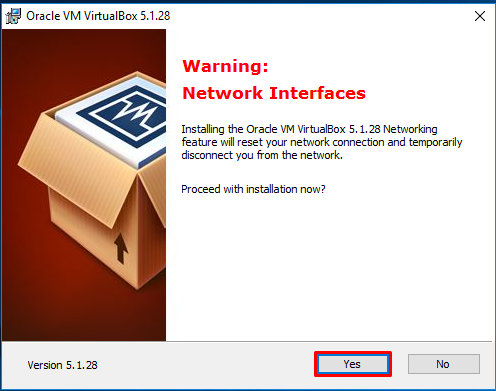
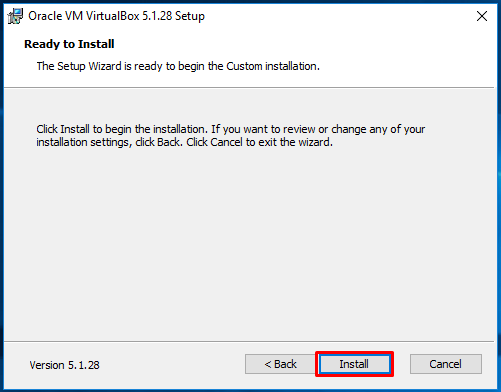
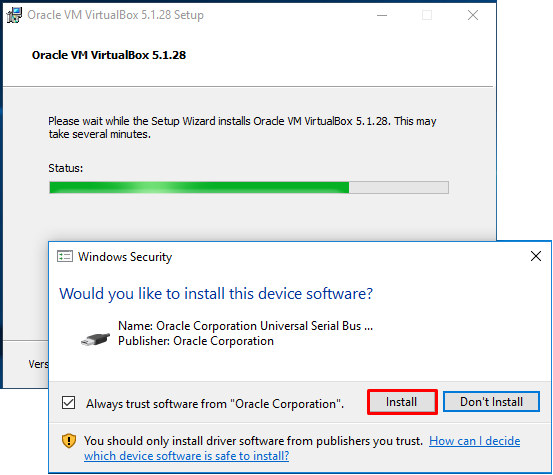
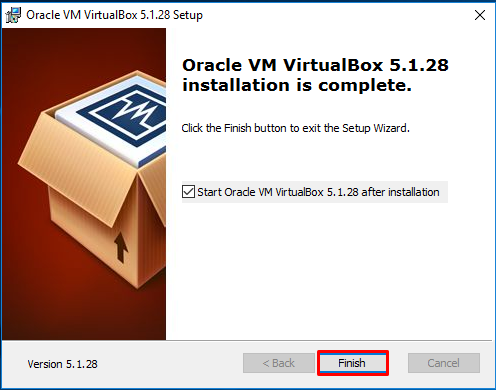
Where to get VirtualBox ?You can download the VirtualBox for various operating system from VirtualBox wiki page or VirtualBox main page. You can download it for free. Check if your PC allows VirtualizationIn some PC, you may install the Virtual Machine (e.g, VirtualBox) directly with no problem, but in some PC BIOS might be configured to block the virtualization of the PC. I would suggest you to check your PC BIOS and make it sure to configure the BIOS to allow PC Virtualization. See this page on how to change the virtualization configuration in BIOS. Install VirtualBoxThis section shows you how to install the VirtualBox on my Windows PC. I would not put any special comments on this section because it is pretty straightforward and just click on Next/OK buttons with default setting.
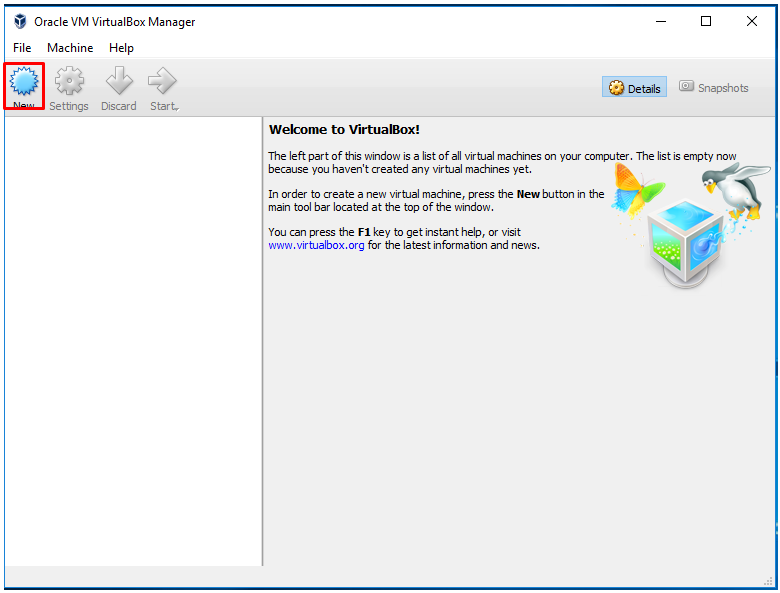
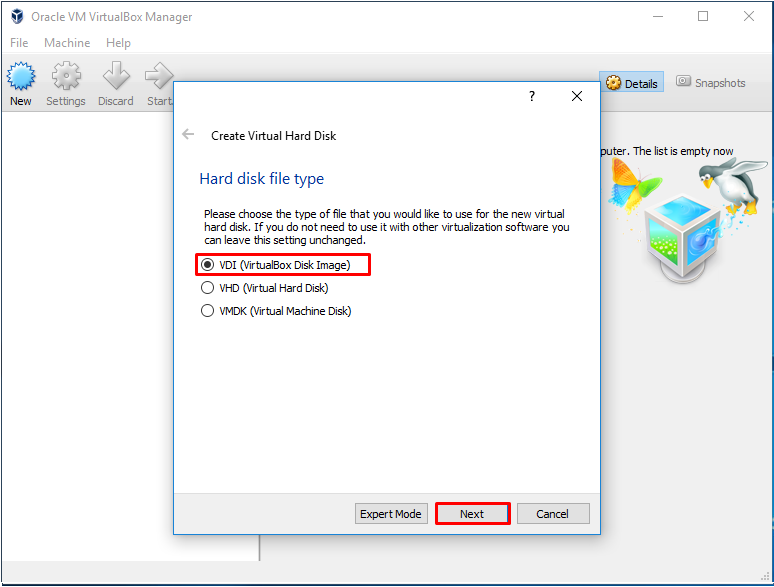
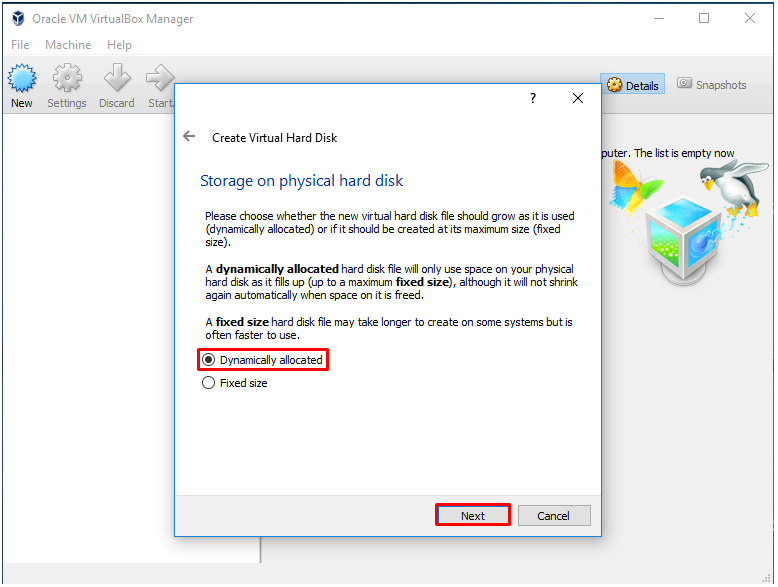
Install Linux (Ubuntu) on VirtualBoxThis section will show you on how to install Ubuntu on the VirtualBox. At almost every steps, you will see some configuration you select or type in some numbers. It is up to you on what to select. The screenshots shown here is just what I have chosen for my installation. Just follow the screenshots and you wouldn't need much of the explanation.
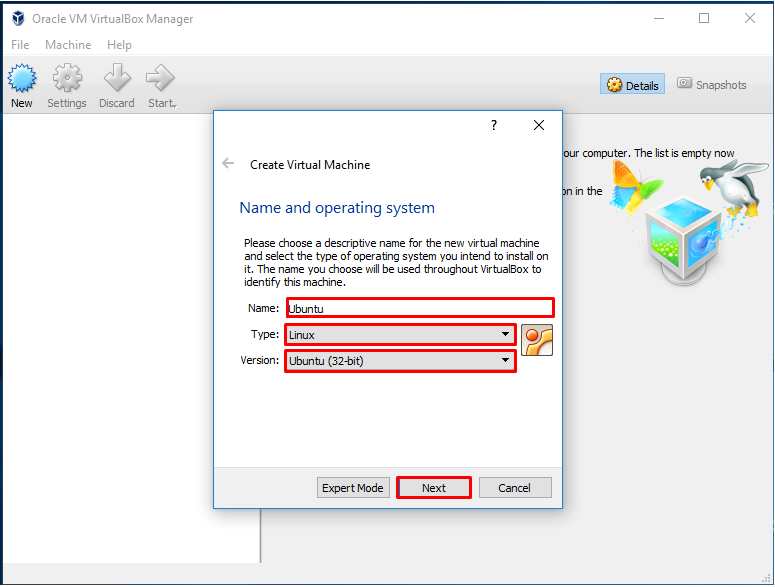
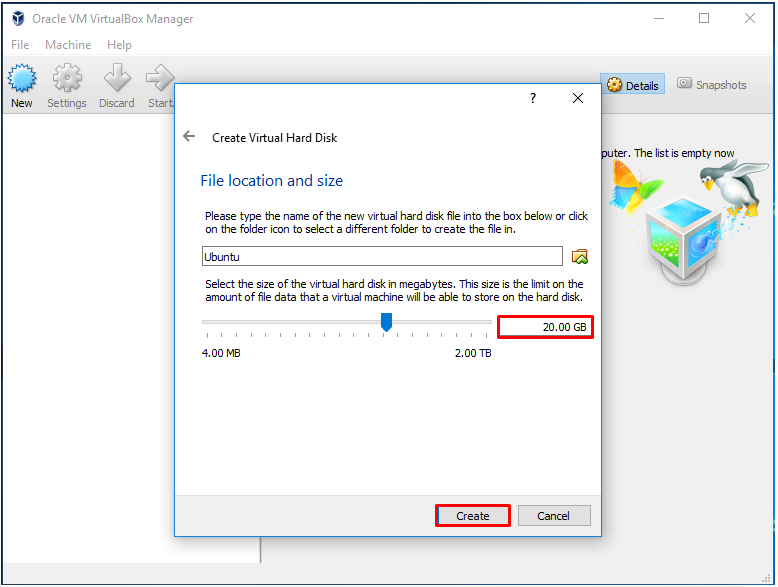
In Name field, you can type in any name as you like and then select the type of Operating system using the dropdown box in Type field. And select the version of the selected Operating System Type.
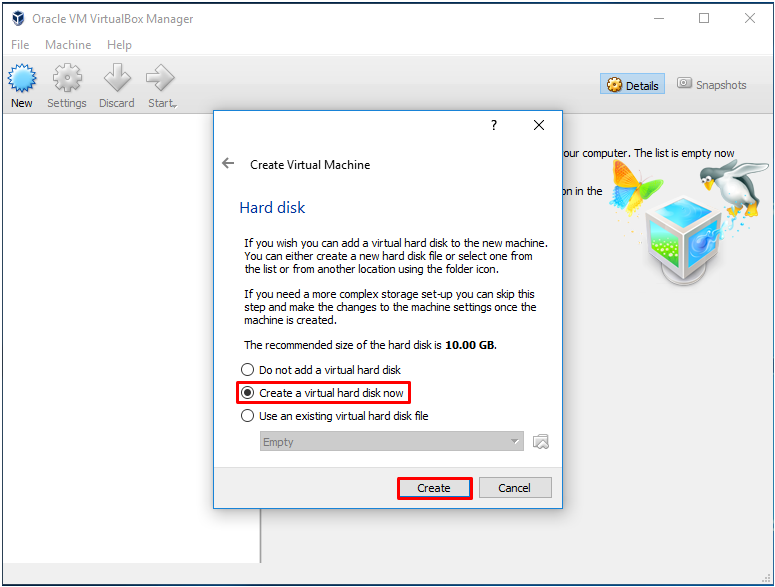
I would suggest you to increase this space a little bit more than the default value. The default value would be big enough to install the operating system itself, but as you use more on the operating system you would need to install more and more application software on it. At some point, you would reach the max disk space and will not be able to install any more application software.
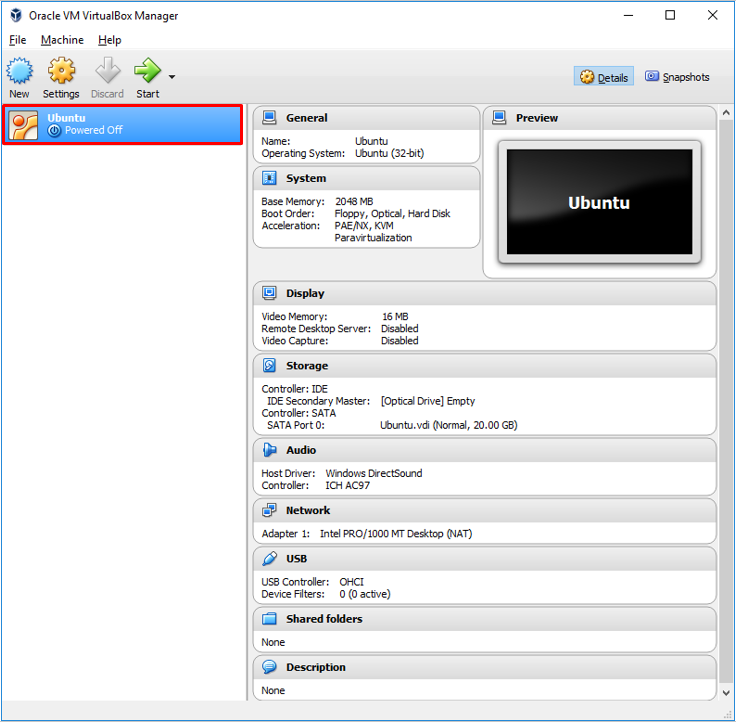
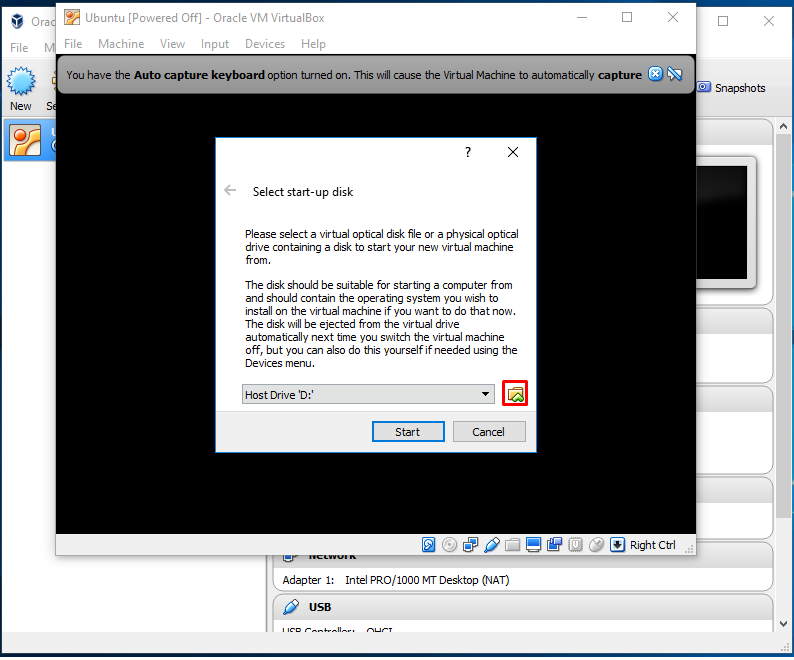
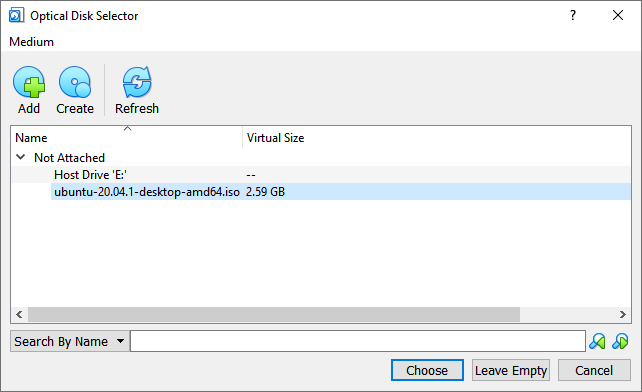
Now double click the Ubuntu button.
When you run the operating system button for the first time, you need to go through these steps. Once you complete these process, you don't need to do this next time.
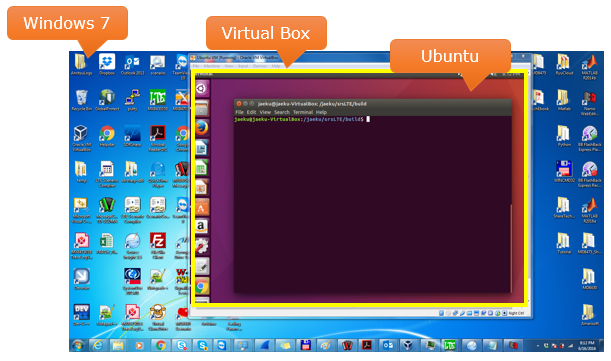
Now you see Ubuntu is running as show below.
|
||